Trimming your dog’s nails is an essential part of their overall care. But not to worry, we’ll guide you through the steps and offer tips to ensure a safe and comfortable experience for both you and your dog.
Before We Begin

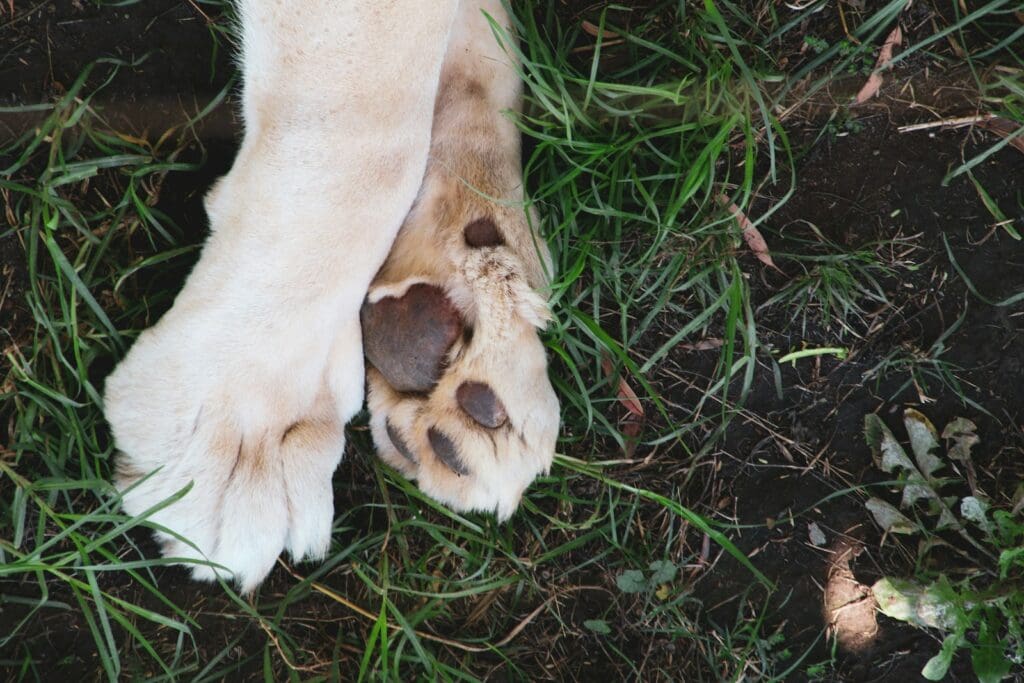
Long, overgrown nails can be uncomfortable for your beloved pup and may lead to health issues. Learning how to trim your dog’s nails safely is a valuable skill for any dog owner.
But first, let’s discuss why regular nail trimming is important, as well as what you’ll need and how to properly prepare your environment.
Why is Nail Trimming Important?
Regular nail trimming is essential for your dog’s well-being. Overgrown nails can lead to problems such as:
- Painful paw and joint issues.
- Difficulty walking and running.
- Scratches and damage to your floors and furniture.
- An increased risk of infection due to dirt and debris getting trapped under long nails.
Tools You’ll Need
Before you begin, gather the necessary tools:
- Dog-specific nail clippers (guillotine or scissor style).
- Styptic powder or cornstarch to stop bleeding if you accidentally cut the quick.
- A well-lit area for visibility.
- Depending on the size of your dog and how much it resists, you may need the help of another person, or the use of a leash or harness to help restrain your dog.
- Treats to reward your dog and create positive associations.
Read More: How to Get Sap Out of Your Dog’s Fur
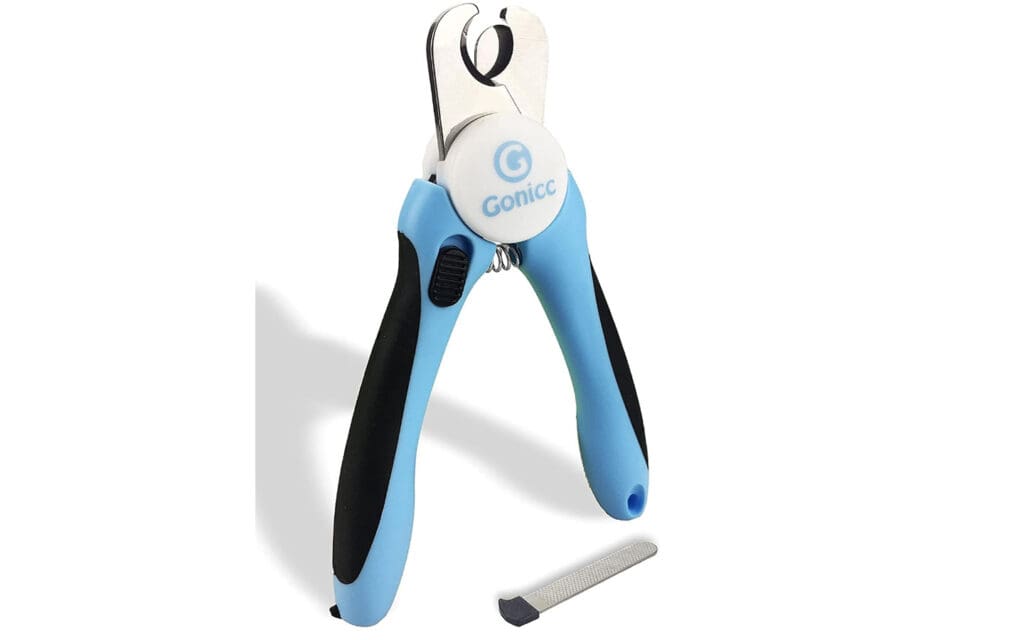
Which Type of Nail Trimmer Should You Use?
There are typically three types of dog trimmers available. The correct choice will depend on the size of your dog’s nails, as well as what you prefer and feel comfortable with.
Plier-style trimmers: These are the most common, are easy to use, and tend to stay sharper longer. They are shaped like pliers or garden pruners and are spring loaded.
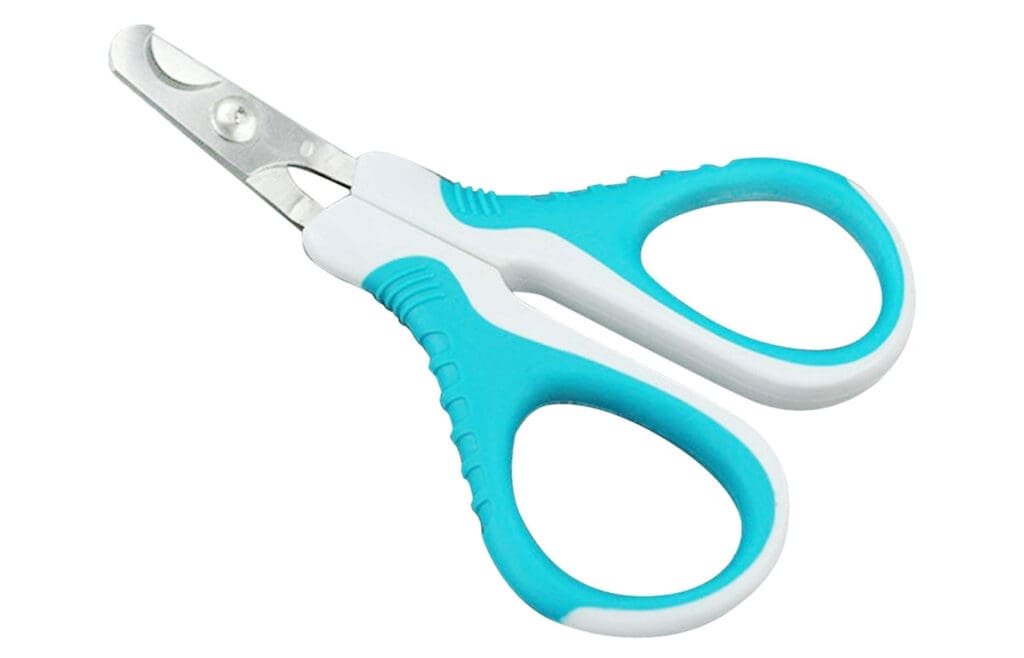
Scissor trimmers: Note that these are really only useful for smaller nails, and are not strong enough to work on larger nails. These trimmers work exactly like a pair of scissors, except they have a curved blade made for cutting around nails. Line up the blade at the appropriate spot on the nail and cut.
Guillotine trimmers: You align the nail up in the hole and when the handle is squeezed the blade comes up to trim the nail. It works like an upside-down guillotine, hence the name. This is one of the easiest types of trimmers for beginners to use. Note these also do not work well for very small or very large nails.
NOW, are we ready for trimming? Follow the next 5 steps to properly and safely trim your dog’s nails. We’ll also offer some further tips at the end.
Step 1: Familiarization and Relaxation
Start by getting your dog comfortable with the process:
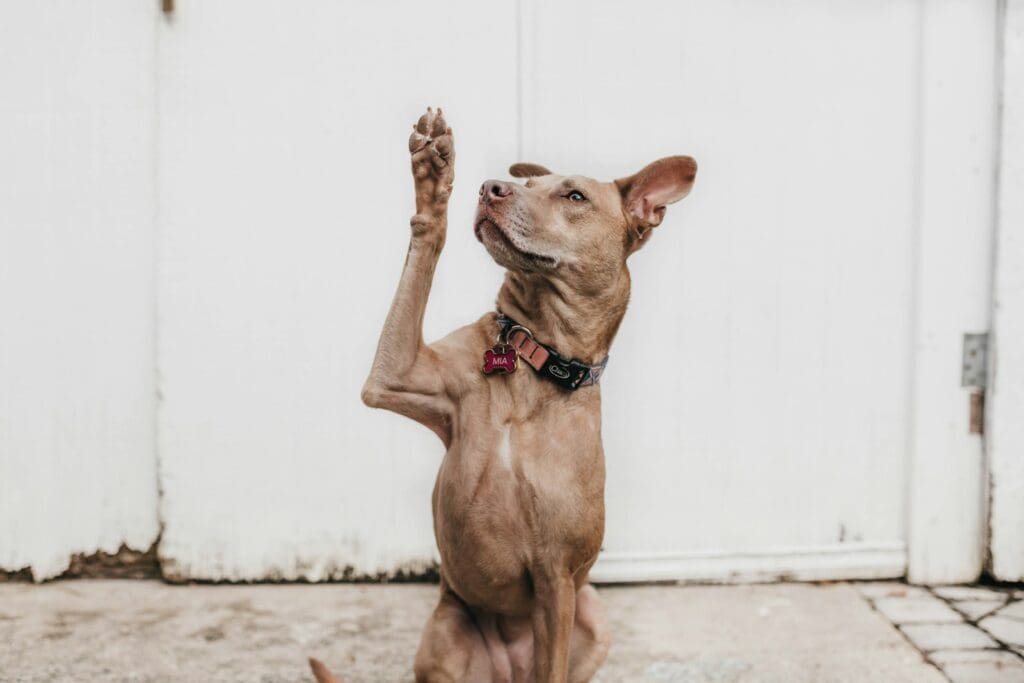
- Gently handle your dog’s paws regularly from an early age to accustom them to touch.
- Introduce the nail clippers without using them, so your dog becomes familiar with the tool.
- Create a calm and relaxed atmosphere for the nail-trimming session.
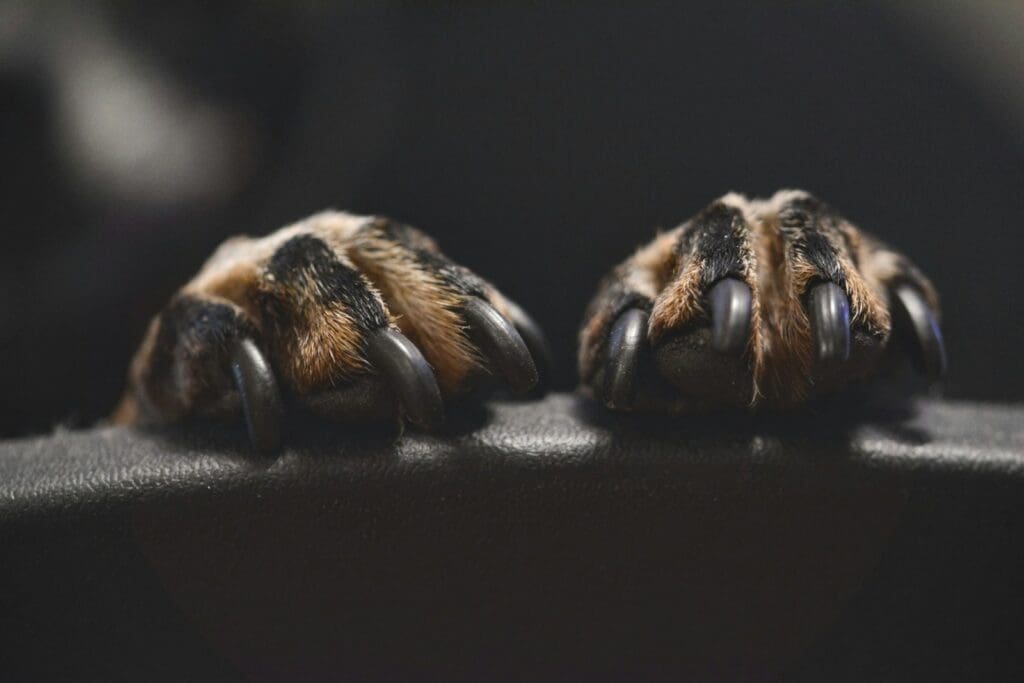
Step 2: Identify the Quick
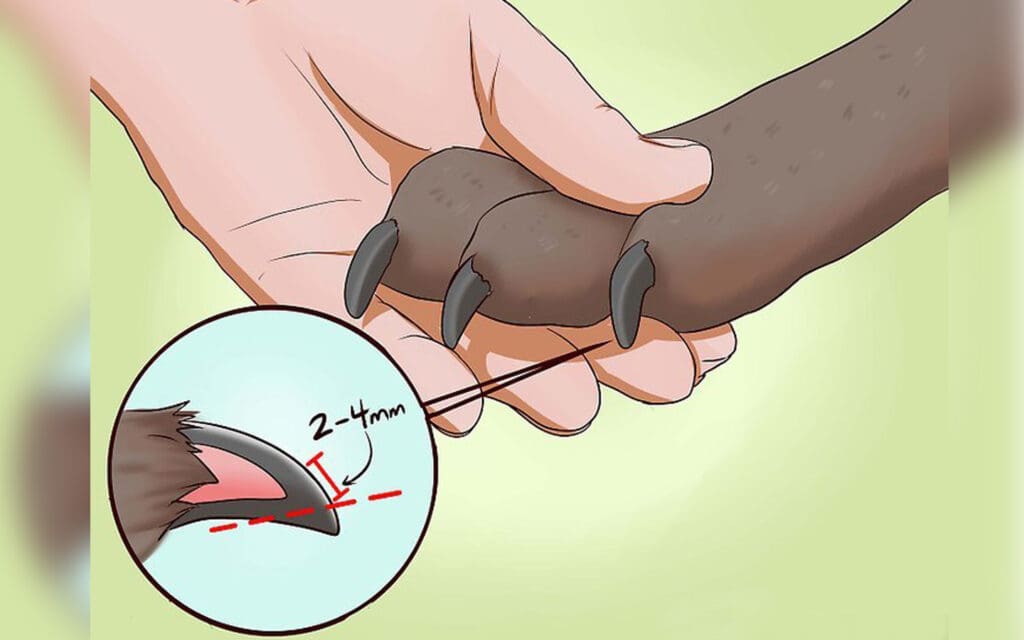
The “quick” is the pinkish part inside the nail that contains blood vessels and nerves. Avoid cutting it, as it can be painful and may cause bleeding.
- In light-colored nails, the quick is often visible.
- In dark nails, you may need to look at the underside and trim small bits at a time to avoid cutting the quick.
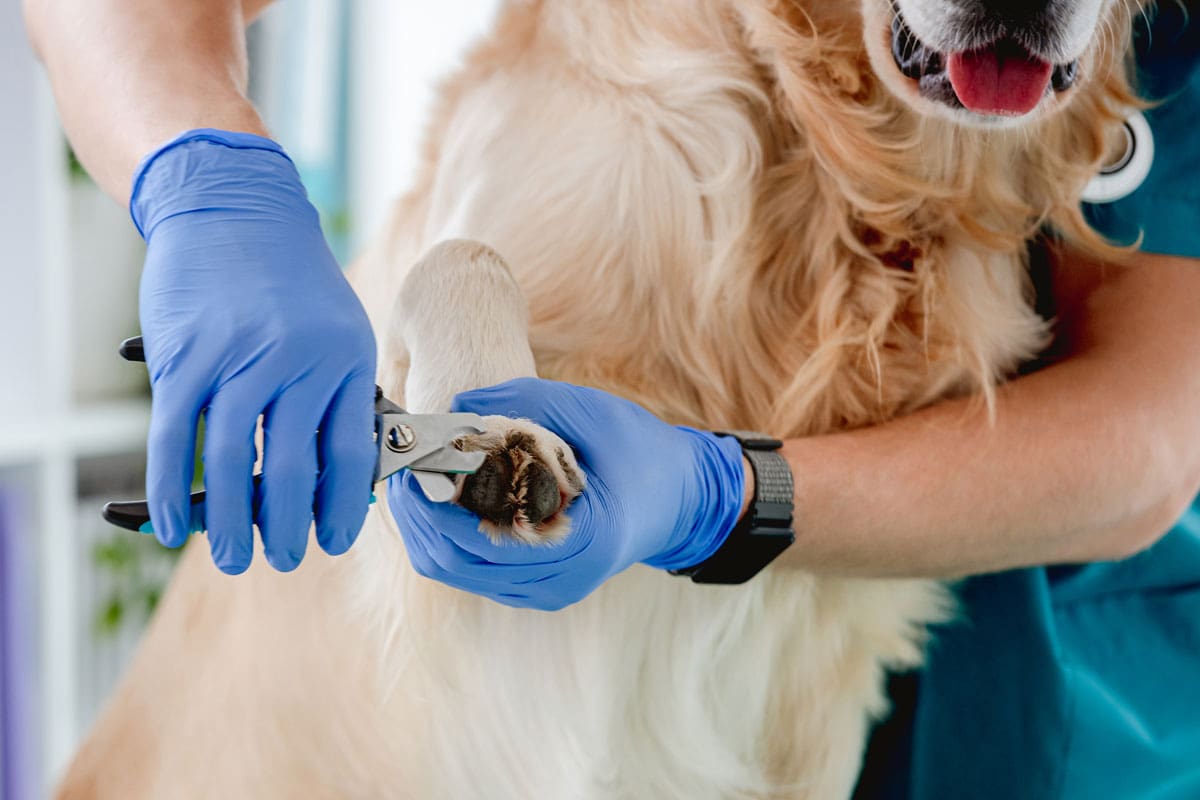
Step 3: Trim Gradually
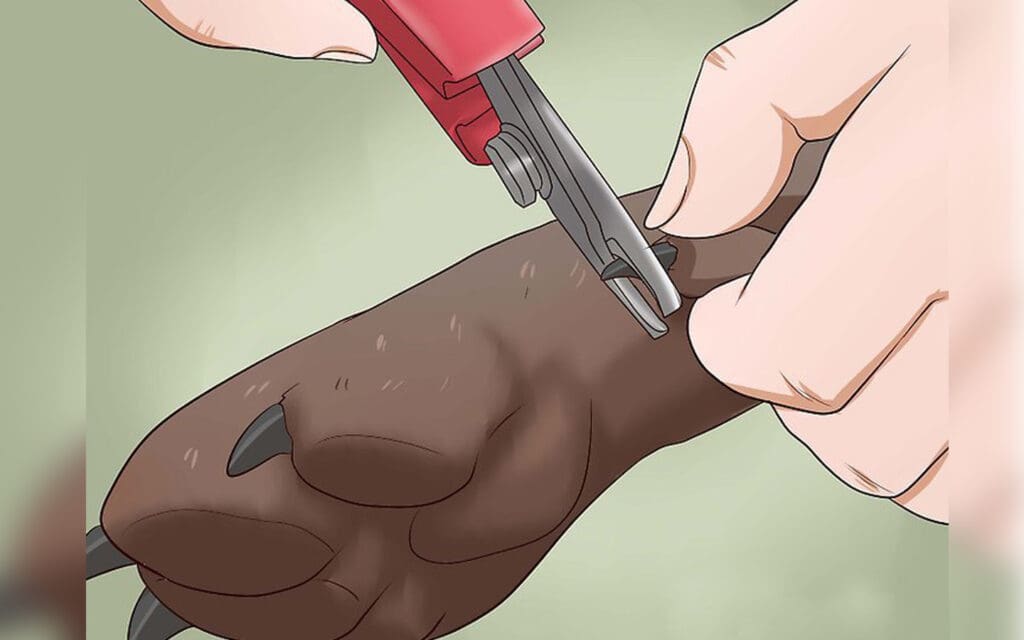
Follow these steps to trim your dog’s nails safely:
- Hold your dog’s paw gently but firmly, exposing the nail.
- Snip a small piece of the nail at a time to avoid cutting the quick.
- Make clean, quick cuts at a 45-degree angle to the nail.
- If you are unsure, err on the side of caution and cut less rather than more.
Step 4: Use Styptic Powder
If you accidentally cut the quick and your dog’s nail starts to bleed, don’t panic. Apply styptic powder or cornstarch to the wound to stop the bleeding. Dip the bleeding nail into the powder or apply it using a cotton swab.
Step 5: Reward and Praise

Throughout the process, offer treats and verbal praise to reward your dog for their cooperation. Make the experience positive, and your dog will be more willing to participate in future nail-trimming sessions.
Read More: The 7 Best Dog Shampoos for Itchy Dogs
More Tips for Successful Nail Trimming
Here are four more tips for successfully trimming your nails, as well as advice on when to seek help from a pro.
- Trim your dog’s nails in a well-lit area, so you can see clearly.
- Be patient and take breaks if needed. Don’t rush the process.
- Regularly check your dog’s nails and trim them as necessary, typically every 2-4 weeks.
- If you are uncomfortable trimming your dog’s nails, consider seeking help from a professional groomer or veterinarian.